Photogrammetry, Done Properly
Creating 3D models from many overlapping photographs of an object or scene, using software that reconstructs geometry and textures from the images.
 Imogen Clarke

Where most projects go wrong
The usual mistakes:
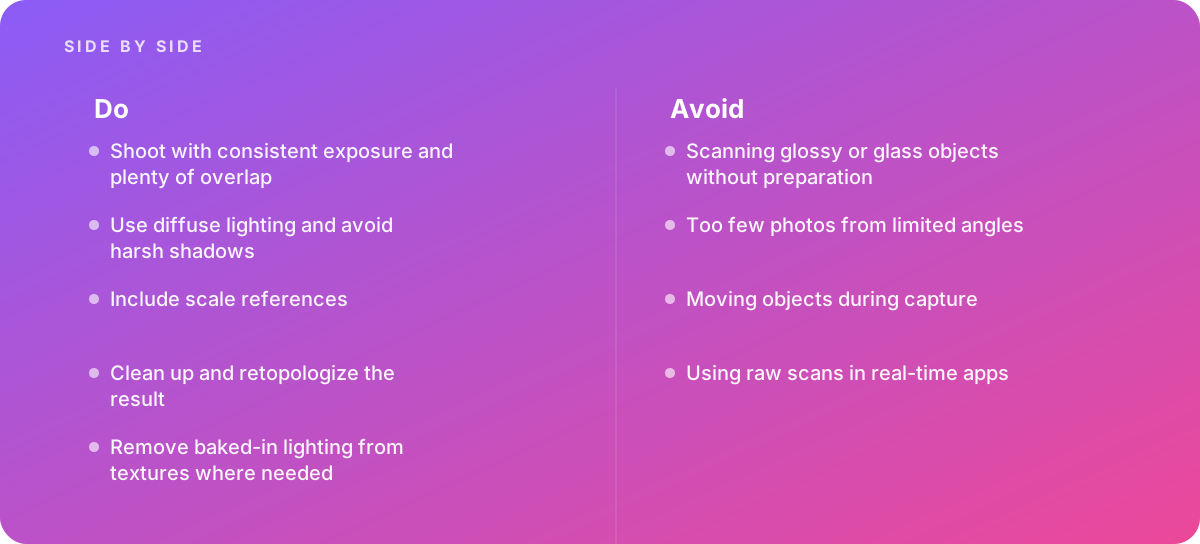
- Scanning glossy or glass objects without preparation
- Too few photos from limited angles
- Moving objects during capture
- Using raw scans in real-time apps
What good looks like instead
- Shoot with consistent exposure and plenty of overlap
- Use diffuse lighting and avoid harsh shadows
- Include scale references
- Clean up and retopologize the result
- Remove baked-in lighting from textures where needed
Why it matters
Photogrammetry captures real-world detail and color quickly, but the raw results need cleanup before they are usable.
The specs that matter
| Measure | Figure |
|---|---|
| Input | many overlapping photos from different angles |
| Output | a textured mesh or point cloud |
| Difficult surfaces | shiny, transparent and featureless surfaces reconstruct poorly |
| Lighting | even, diffuse lighting produces better textures |
Knowing when to hand it over
Tip: Bring in help when capturing real products or locations for 3D use.
Where this comes from
- Autodesk — ReCap photogrammetry documentation
- Unreal Engine Documentation — Reality Capture
The figures and practices above come from the sources listed.
Working on something like this?
We take on 3D Design & Development work for teams who want it done once, properly. Tell us what you are building and we will tell you honestly whether we are the right studio for it. Start a project.
Where to go next
Spotted something wrong? Report an error on this page. We correct on the page and say what changed.