A Practical Guide to Video Noise Reduction
Reducing grain and digital noise in footage, especially from low-light shoots, using temporal and spatial noise reduction.
 Tomas Lindqvist

What is at stake
Noise distracts viewers and compresses poorly, but heavy noise reduction smears detail and creates a plastic look.
The playbook
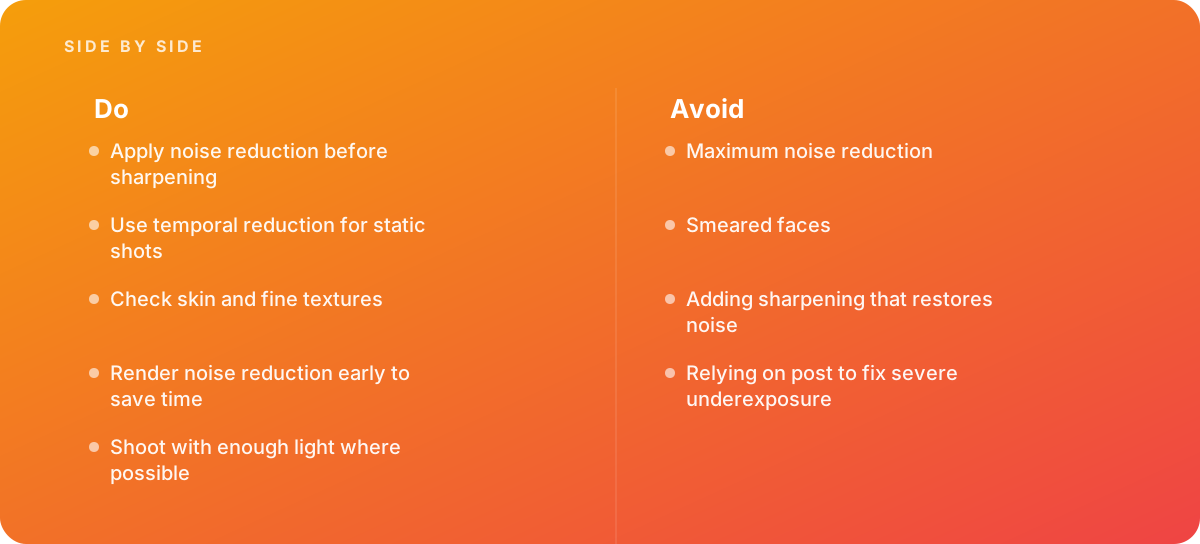
- Apply noise reduction before sharpening
- Use temporal reduction for static shots
- Check skin and fine textures
- Render noise reduction early to save time
- Shoot with enough light where possible
Where it goes wrong
Avoid:
- Maximum noise reduction
- Smeared faces
- Adding sharpening that restores noise
- Relying on post to fix severe underexposure
The numbers behind it
| Measure | Figure |
|---|---|
| Temporal noise reduction | compares frames to remove noise |
| Spatial noise reduction | works within a single frame |
| Resolve | DaVinci Resolve Studio includes temporal and spatial noise reduction |
| Compression | noise increases bitrate needs |
Getting outside help
When to hand it over: Bring in help when low-light footage is central to a project.
Where this comes from
- Blackmagic Design — DaVinci Resolve Reference Manual
- Adobe Help Center — After Effects User Guide
The figures and practices above come from the sources listed.
Working on something like this?
We take on Video Editing & Production work for teams who want it done once, properly. Tell us what you are building and we will tell you honestly whether we are the right studio for it. Start a project.
Where to go next
Spotted something wrong? Report an error on this page. We correct on the page and say what changed.